Since the introduction of ChatGPT, our digital landscape has seen a significant transformation. This innovative technology has revolutionized how we interact with computers, sparking interest and adoption across various industries. Today, rather than delving into the broad topic of AI, I’m excited to introduce you to a practical application: SpringAI, paired with powerful Ollama chat model.
Spring AI is like a toolbox for AI engineering. It takes the smart ideas from the Spring ecosystem, such as being easy to move around and having parts you can mix and match, and applies them to AI. It suggests using Plain Old Java Objects (POJOs) as the building blocks for AI applications. This makes it easier to create AI stuff using familiar tools.
While the API of SpringAI supports many AI providers for chat, text-to-image, and embedding models all the way from OpenAI to HuggingFace, Ollama is a very interesting choice for our purposes, because it’s a tool that lets us run large language models straight on our local machines.
Let’s dive into how this dynamic duo can enhance our AI interactions in a straightforward and hands-on manner.
Running Ollama locally
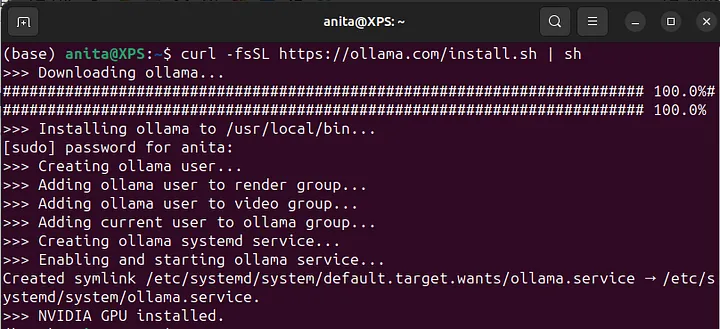
Let’s start with Ollama. Download the language model from their web page and run locally. They support macOS and a preview version for Windows. As I am using Linux, I will use the following curl command:
curl -fsSL https://ollama.com/install.sh | sh
You should be able to see a similar output after successful installation:
If we go to Ollama’s GitHub repository and read their documentation, we will discover that Ollama supports a REST API for running and managing models on localhost:11434. So, by just navigating to the mentioned address in your browser, you should be able to see their status message:
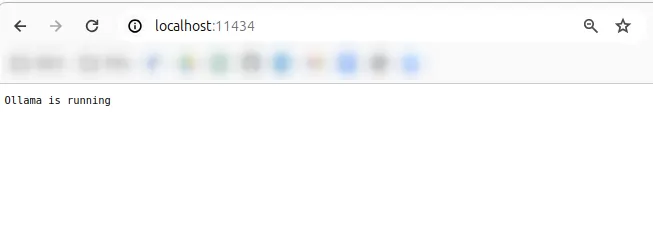
However, we won’t be needing to interact with the model through the browser. We will be using API and that’s where the SpringAI project comes into picture.
Setting up SpringAI
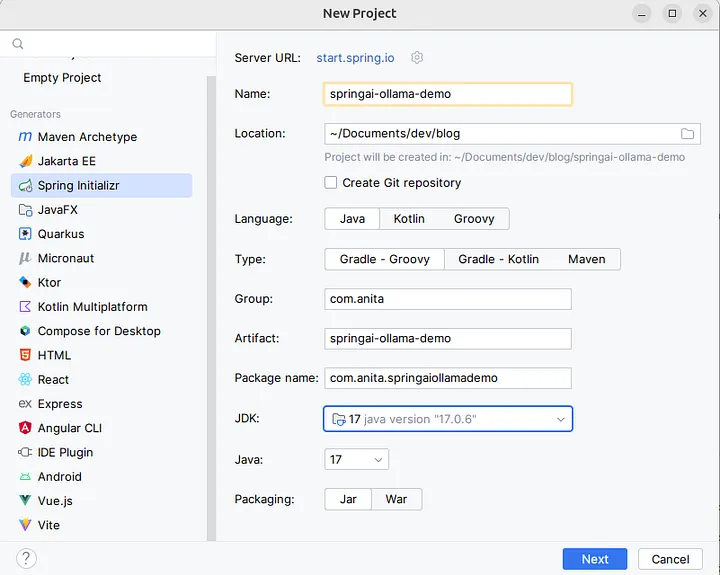
Let’s go ahead and create a new Spring Boot project from scratch. I will be using Java 17 with Gradle as a dependency manager.
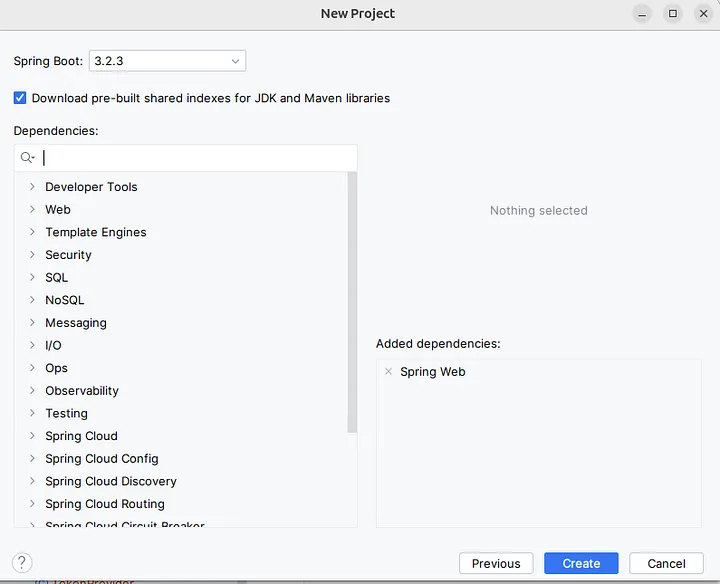
As SpringAI project is still in its early stages, there is no pre-provided dependency in this list. So I will only be adding Spring Web from there:
We will need to make one or two extra steps to configure, compared to the other easily manageable dependencies. According to SpringAI’s Getting Started guide, we should add the following dependencies to our build.gradle file:
repositories {
  mavenCentral()
  maven { url 'https://repo.spring.io/milestone' }
  maven { url 'https://repo.spring.io/snapshot' }
}
Next we are going to add Ollama-specific implementation to the dependencies for Gradle (Maven version can be found here):
dependencies {
  implementation group: 'org.springframework.ai', name: 'spring-ai-ollama', version: '0.8.1'
}
In the end, your build.gradle file should look like this:
plugins {
 id 'java'
 id 'org.springframework.boot' version '3.2.3'
 id 'io.spring.dependency-management' version '1.1.4'
}

group = 'com.anita'
version = '0.0.1-SNAPSHOT'

java {
 sourceCompatibility = '17'
}

repositories {
 mavenCentral()
 maven { url 'https://repo.spring.io/milestone' }
 maven { url 'https://repo.spring.io/snapshot' }
}

dependencies {
 implementation 'org.springframework.boot:spring-boot-starter-web'
 implementation group: 'org.springframework.ai', name: 'spring-ai-ollama', version: '0.8.1'
 testImplementation 'org.springframework.boot:spring-boot-starter-test'
}

tasks.named('test') {
 useJUnitPlatform()
}
In case of no additional configuration, application will run with the default Ollama model. But in other cases, we can specify the desired model in the application.properties file:
spring.ai.ollama.chat.model=llama2
Testing Ollama chat client
First, we will download the Mistral model and run it from the terminal:
ollama run mistral
You can also use the model to generate response to your prompts directly from the terminal, but let’s see how we can test it from our application. Probably the easiest way for us to test the library would be by actually testing it.
Go to the test class that was generated by default when we created the project, and modify it like this:
package com.anita.springaiollamademo;

import org.junit.jupiter.api.Test;
import org.springframework.ai.ollama.OllamaChatClient;
import org.springframework.ai.ollama.api.OllamaApi;
import org.springframework.boot.test.context.SpringBootTest;

@SpringBootTest
class SpringaiOllamaDemoApplicationTests {

 @Test
 void testOllama() {
  OllamaApi chatApi = new OllamaApi("http://localhost:11434");
  OllamaChatClient ollamaChatClient = new OllamaChatClient(chatApi);
  String response = ollamaChatClient.call("Why is the sky blue?");
  System.out.println(response);
 }

}
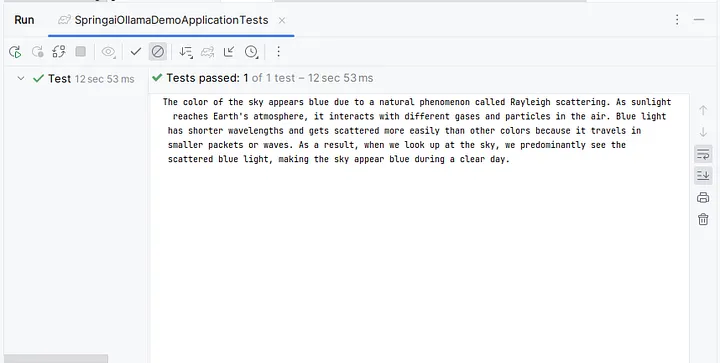
Run the test and you should see the output like the following:
Of course, this is a very brief tutorial, just demonstrating the integration of model into Spring Boot and scratching the surface of its capabilities. However, you can see the sample code in my GitHub repository and you can continue to play with the model yourself. There are many interesting things that could be achieved using Ollama’s different models too, but we can save them for our future tutorials.
Let me know if you have any questions, comments, or suggestions for the upcoming content.
Stay tuned and don’t miss the following blogs!